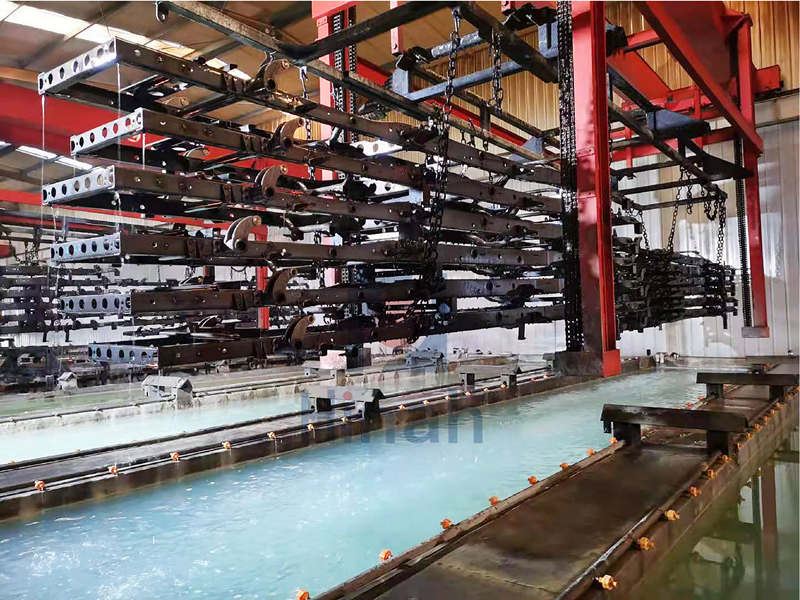
Imagine investing time, effort, and resources into a coating process, only to end up with imperfections—craters, uneven thickness, or adhesion failures. Frustrating, right? In the world of electrophoretic coating, a flawless finish isn’t just about aesthetics; it’s about durability, corrosion resistance, and cost efficiency.
Zero-defect finishing means fewer reworks, reduced material waste, and a stronger reputation for quality. Whether you’re coating automotive parts, appliances, or industrial components, even the smallest defect can lead to performance issues or customer dissatisfaction.
But here’s the good news: achieving perfection isn’t about luck—it’s about mastering the process. From pretreatment to curing, every stage plays a role in getting that pristine, defect-free surface. In this guide, we’ll uncover the key secrets to optimizing your electrophoretic coating process, so you can achieve consistent, high-quality results every time.
The Science Behind Electrophoretic Coating
Electrophoretic coating, or e-coating, is more than just a finishing process—it’s a carefully controlled science that ensures surfaces are evenly coated, protected, and built to last. Whether you’re dealing with automotive parts, industrial machinery, or consumer goods, understanding the fundamentals of e-coating can mean the difference between a flawless finish and costly defects.
How Electrophoretic Coating Works: Voltage, Deposition & Curing
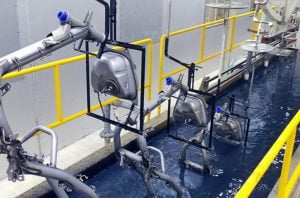
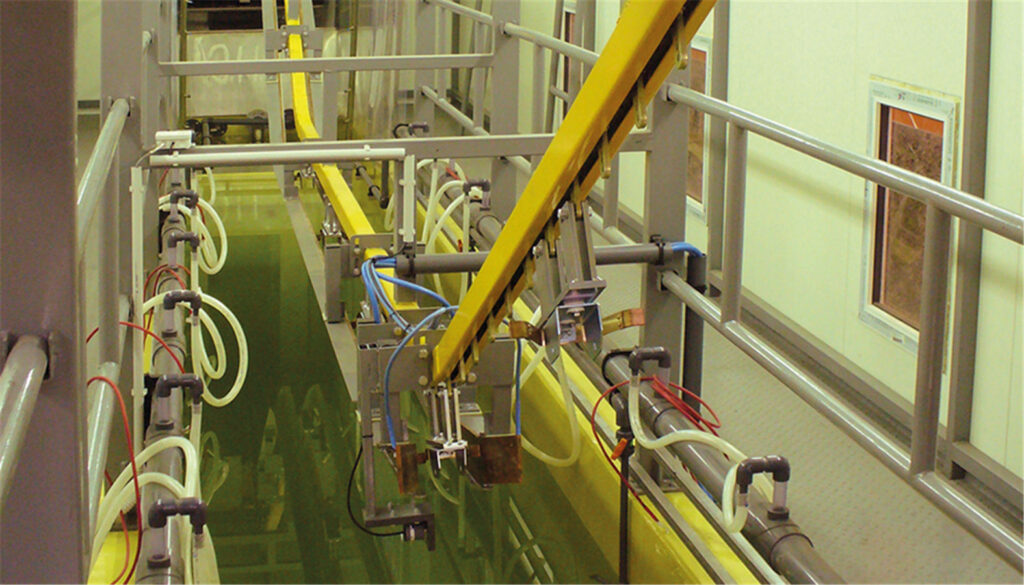
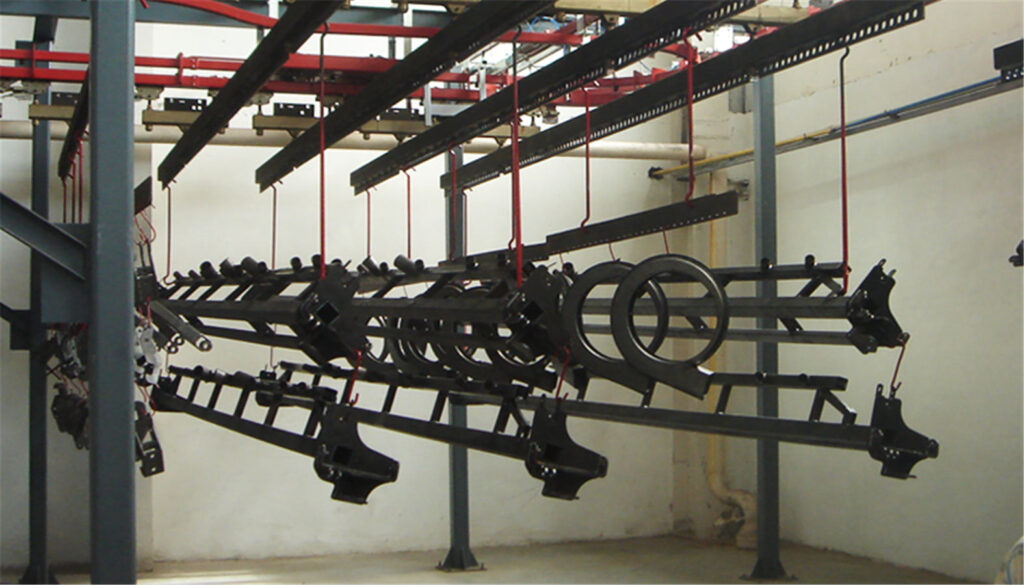
At its core, electrophoretic coating relies on three critical steps: voltage application, particle deposition, and curing. The process starts when an object is submerged in a water-based coating bath filled with charged paint particles. Once voltage is applied, these particles migrate and adhere to the surface, forming a uniform coating layer.
But the magic doesn’t stop there. The thickness of the coating is precisely controlled by adjusting the voltage—too low, and the coverage is uneven; too high, and you risk defects like over-deposition or “burns.” After deposition, the coated part enters a curing oven, where heat cross-links the coating, enhancing its durability and resistance to wear, corrosion, and chemicals.
When done right, this process creates a finish that’s not only visually perfect but also incredibly tough—one that stands up to harsh environments and daily wear.
Key Variables Impacting Electrophoretic Coating Quality
Achieving a flawless e-coating finish isn’t just about following a process—it’s about mastering the details. Several factors can make or break your results:
- Bath Chemistry: Maintaining the right pH, conductivity, and particle concentration is crucial. A poorly balanced bath can lead to inconsistent coatings or defects like cratering.
- Voltage Control: The voltage applied must be precisely managed to ensure uniform thickness without causing defects.
- Pretreatment Quality: The best coating in the world won’t adhere properly to a poorly prepared surface. Effective cleaning and pretreatment are essential for adhesion and corrosion resistance.
- Rinsing Efficiency: Incomplete rinsing after coating can introduce defects, leaving behind unwanted residues that affect finish quality.
- Curing Conditions: Humidity, oven temperature, and bake time must be carefully controlled to avoid cracking, discoloration, or poor adhesion.
Understanding these variables and fine-tuning them to perfection is what separates an average e-coating line from an exceptional one. In the next section, we’ll dive into the industry’s best-kept secrets—strategies that can help you consistently achieve zero-defect finishes and stay ahead of the competition.
Let's Have A Chat
Get An E-coating Line Planning !
Match Your Products, Get The Solution & Price..
Electrophoretic Coating Secrets for Flawless Results
Achieving a perfect electrophoretic coating finish isn’t just about following a standard process—it’s about fine-tuning every detail, eliminating potential pitfalls, and understanding the science behind each step. Small mistakes can lead to big problems, but with the right strategies, you can ensure a zero-defect finish every time. Let’s explore five key secrets that will take your e-coating process to the next level.
Secret 1: Optimize Pretreatment for Electrophoretic Coating Adhesion
A great finish starts long before the coating is applied. Pretreatment is the foundation of adhesion, and any contamination—oil, dirt, rust—can prevent the coating from bonding properly. Think of it like painting a wall: if you don’t clean and prime it first, the paint will peel.
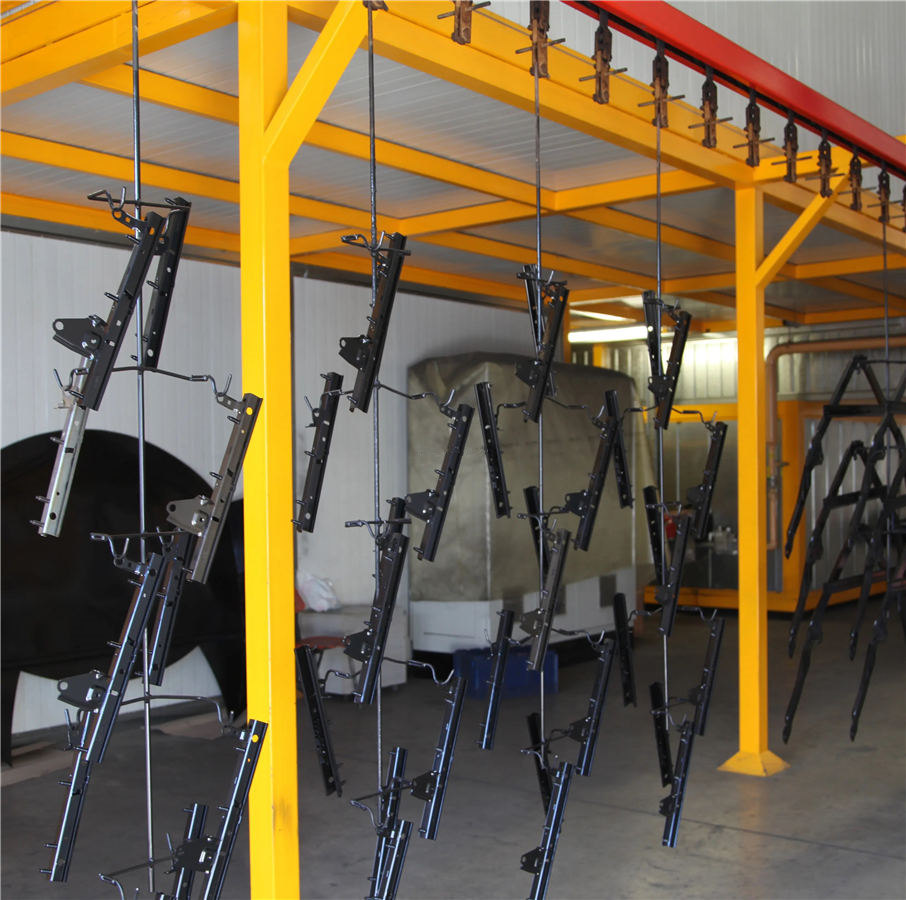
To ensure a strong and even coating, invest in a multi-stage pretreatment system that includes degreasing, rinsing, and phosphating. Each step must be precisely controlled—too much or too little treatment can affect adhesion, leading to peeling or uneven coverage. A well-prepared surface means a more durable, defect-free finish.
Secret 2: Real-Time Monitoring of Electrophoretic Coating Bath Chemistry
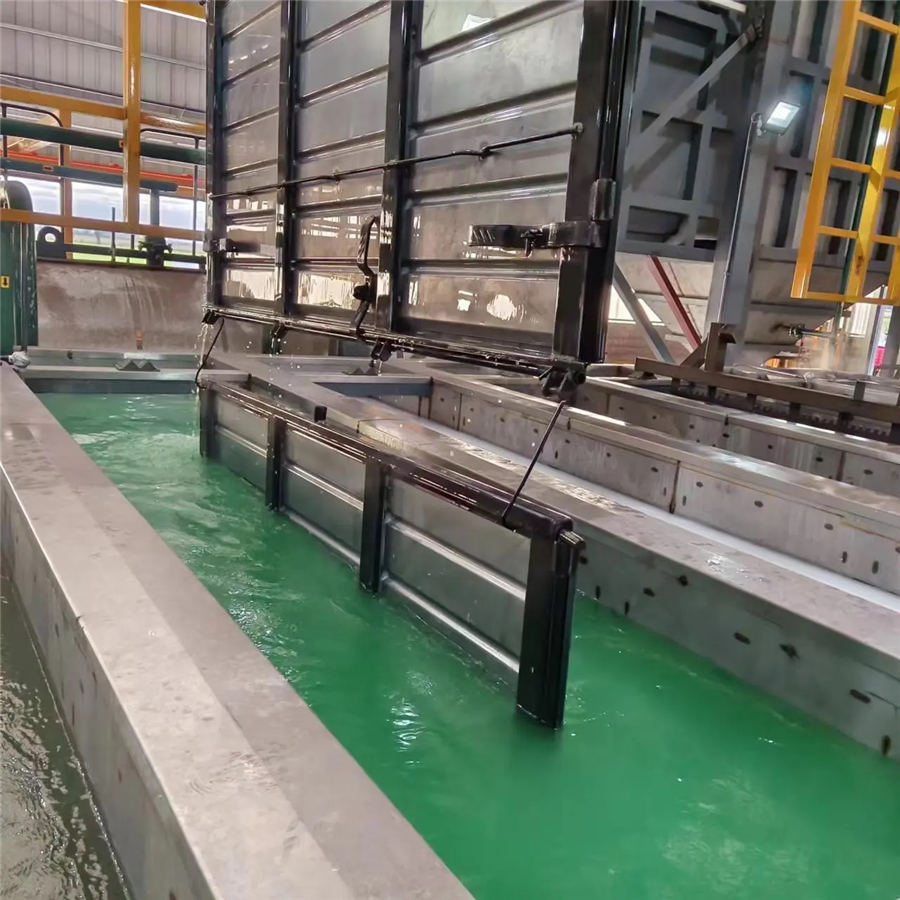
Your e-coat bath is the heart of the process, and if its chemistry isn’t carefully monitored, things can quickly go wrong. Changes in pH, conductivity, or particle concentration can cause defects like cratering, pinholes, or uneven thickness.
Instead of waiting for issues to appear, proactive monitoring is key. Regularly check and adjust bath parameters, ensuring consistency in every batch. Automated monitoring systems can provide real-time data, alerting you to fluctuations before they turn into costly defects. In e-coating line, staying ahead of problems is always easier than fixing them later.
Secret 3: Pulse vs. DC Electrophoretic Coating: When to Switch Strategies
Not all e-coating methods are created equal. Most systems use direct current (DC), but for complex parts or areas prone to uneven deposition, pulse coating can be a game-changer. By applying the voltage in controlled pulses rather than a continuous flow, you can achieve better coverage, especially in hard-to-reach areas.
So when should you switch? If you’re dealing with intricate geometries, high film thickness requirements, or struggling with coverage in recessed areas, pulse technology might be the answer. Testing both methods on your specific parts can help you determine the best approach for flawless results.
Secret 4: Post-Coating Rinsing Techniques to Eliminate “Cratering”
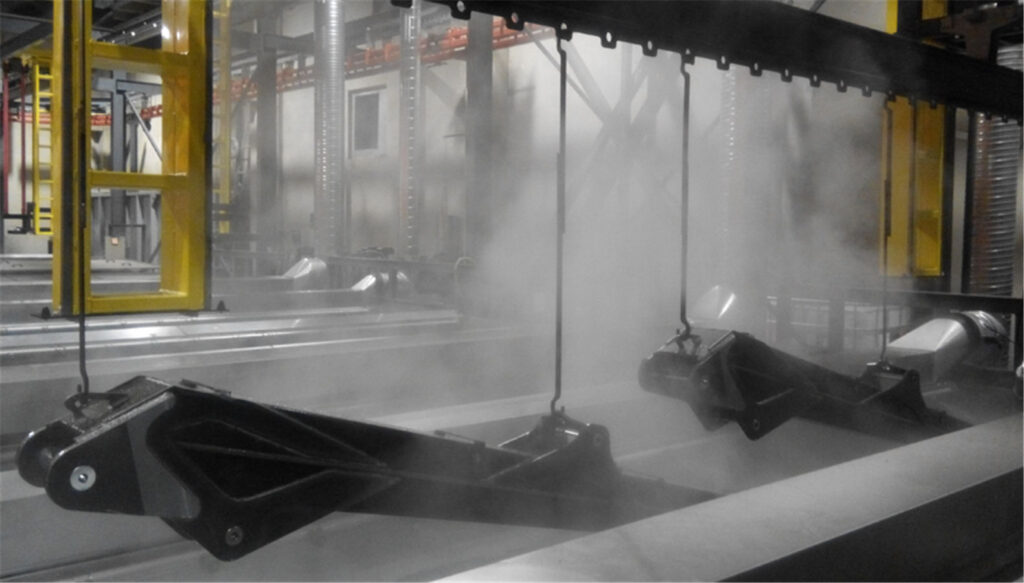
Cratering—those tiny, frustrating surface imperfections—often happens because of improper rinsing after the coating bath. Leftover bath solution can cause defects, leading to costly rework or rejected parts.
A well-designed post-coating rinsing system ensures excess material is thoroughly removed before curing. Using ultrafiltration technology can help recover and recycle excess coating material, reducing waste while improving finish quality. The goal is simple: a perfectly smooth, defect-free surface, ready for curing.
Secret 5: Humidity Control During Electrophoretic Coating Curing
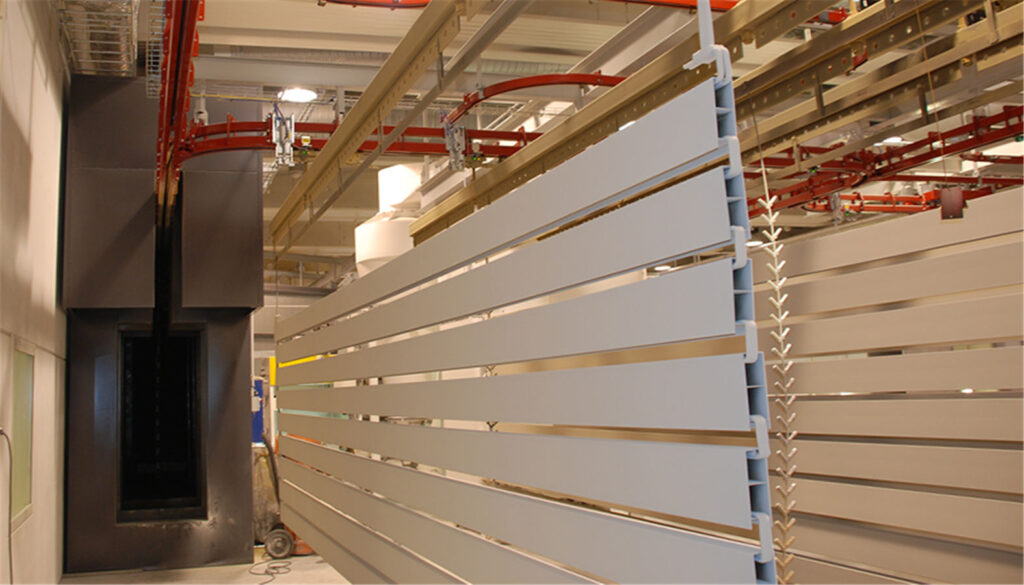
Curing is the final step, but it’s also where things can go terribly wrong if you’re not careful. Too much humidity in the curing environment can lead to surface defects, improper cross-linking, or inconsistent coating thickness.
Maintaining a controlled curing environment—monitoring temperature, airflow, and humidity—ensures the coating fully hardens and bonds as intended. Investing in proper oven calibration and ventilation systems can make all the difference, preventing moisture-related defects and guaranteeing a durable, long-lasting finish.
Mastering these five secrets will transform your electrophoretic coating process, reducing defects and improving efficiency. A flawless finish isn’t just about following the steps—it’s about understanding the science behind them and making small but powerful optimizations. When you take control of the details, perfection becomes the standard.
Conclusion
Achieving a flawless electrophoretic coating finish isn’t just about running a process—it’s about mastering it. From meticulous pretreatment to real-time bath monitoring, from choosing the right coating method to perfecting rinsing and curing conditions, every detail matters.
The difference between an average finish and a zero-defect surface comes down to the care and precision you put into each step. A perfectly coated part doesn’t just look good—it performs better, lasts longer, and reinforces your reputation for quality.
The good news? Excellence in e-coating isn’t reserved for a select few. With the right strategies and a commitment to continuous improvement, you can eliminate defects, reduce waste, and create consistently high-quality results. Every adjustment you make brings you closer to perfection—one layer at a time.

